How to Implement Feature Flags in Rust
Hello! In this tutorial we’ll show you how to add feature flags to your Rust app, using Unleash and the official Unleash Rust SDK. With Unleash, an open-source feature management service, you can add feature flags to your applications and release new features faster.
We love Rust here at Unleash, our own Unleash Edge is built with Rust and it's a core part of our product.
- Prerequisites
- 1. Install a local feature flag provider
- 2. Convert an image to WebP
- 3. Add Avif support
- 4. Add Unleash to your Rust app
- 5. Verify the toggle experience
- Conclusion
Prerequisites
For this tutorial, you’ll need the following:
- Rust
- Git
- Docker and Docker Compose

The Unleash Server is a Feature Flag Control Service, which manages your feature flags and lets you retrieve flag data. Unleash has a UI for creating and managing projects and feature flags. There are also API commands available to perform the same actions straight from your CLI or app.
1. Install a local feature flag provider
In this section, we’ll install Unleash, run the instance locally, log in, and create a feature flag. If you prefer, you can use other tools instead of Unleash, but you’ll need to follow the instructions elsewhere. The basic steps will probably be the same.
Use Git to clone the Unleash repository and Docker to build and run it. Open a terminal window and run the following commands:
git clone https://github.com/unleash/unleash.git
cd unleash
docker compose up -d
You will now have Unleash installed onto your machine and running in the background. You can access this instance in your web browser at http://localhost:4242.
Log in to the platform using these credentials:
Username: admin
Password: unleash4all
Click the ‘New feature flag’ button to create a new feature flag.
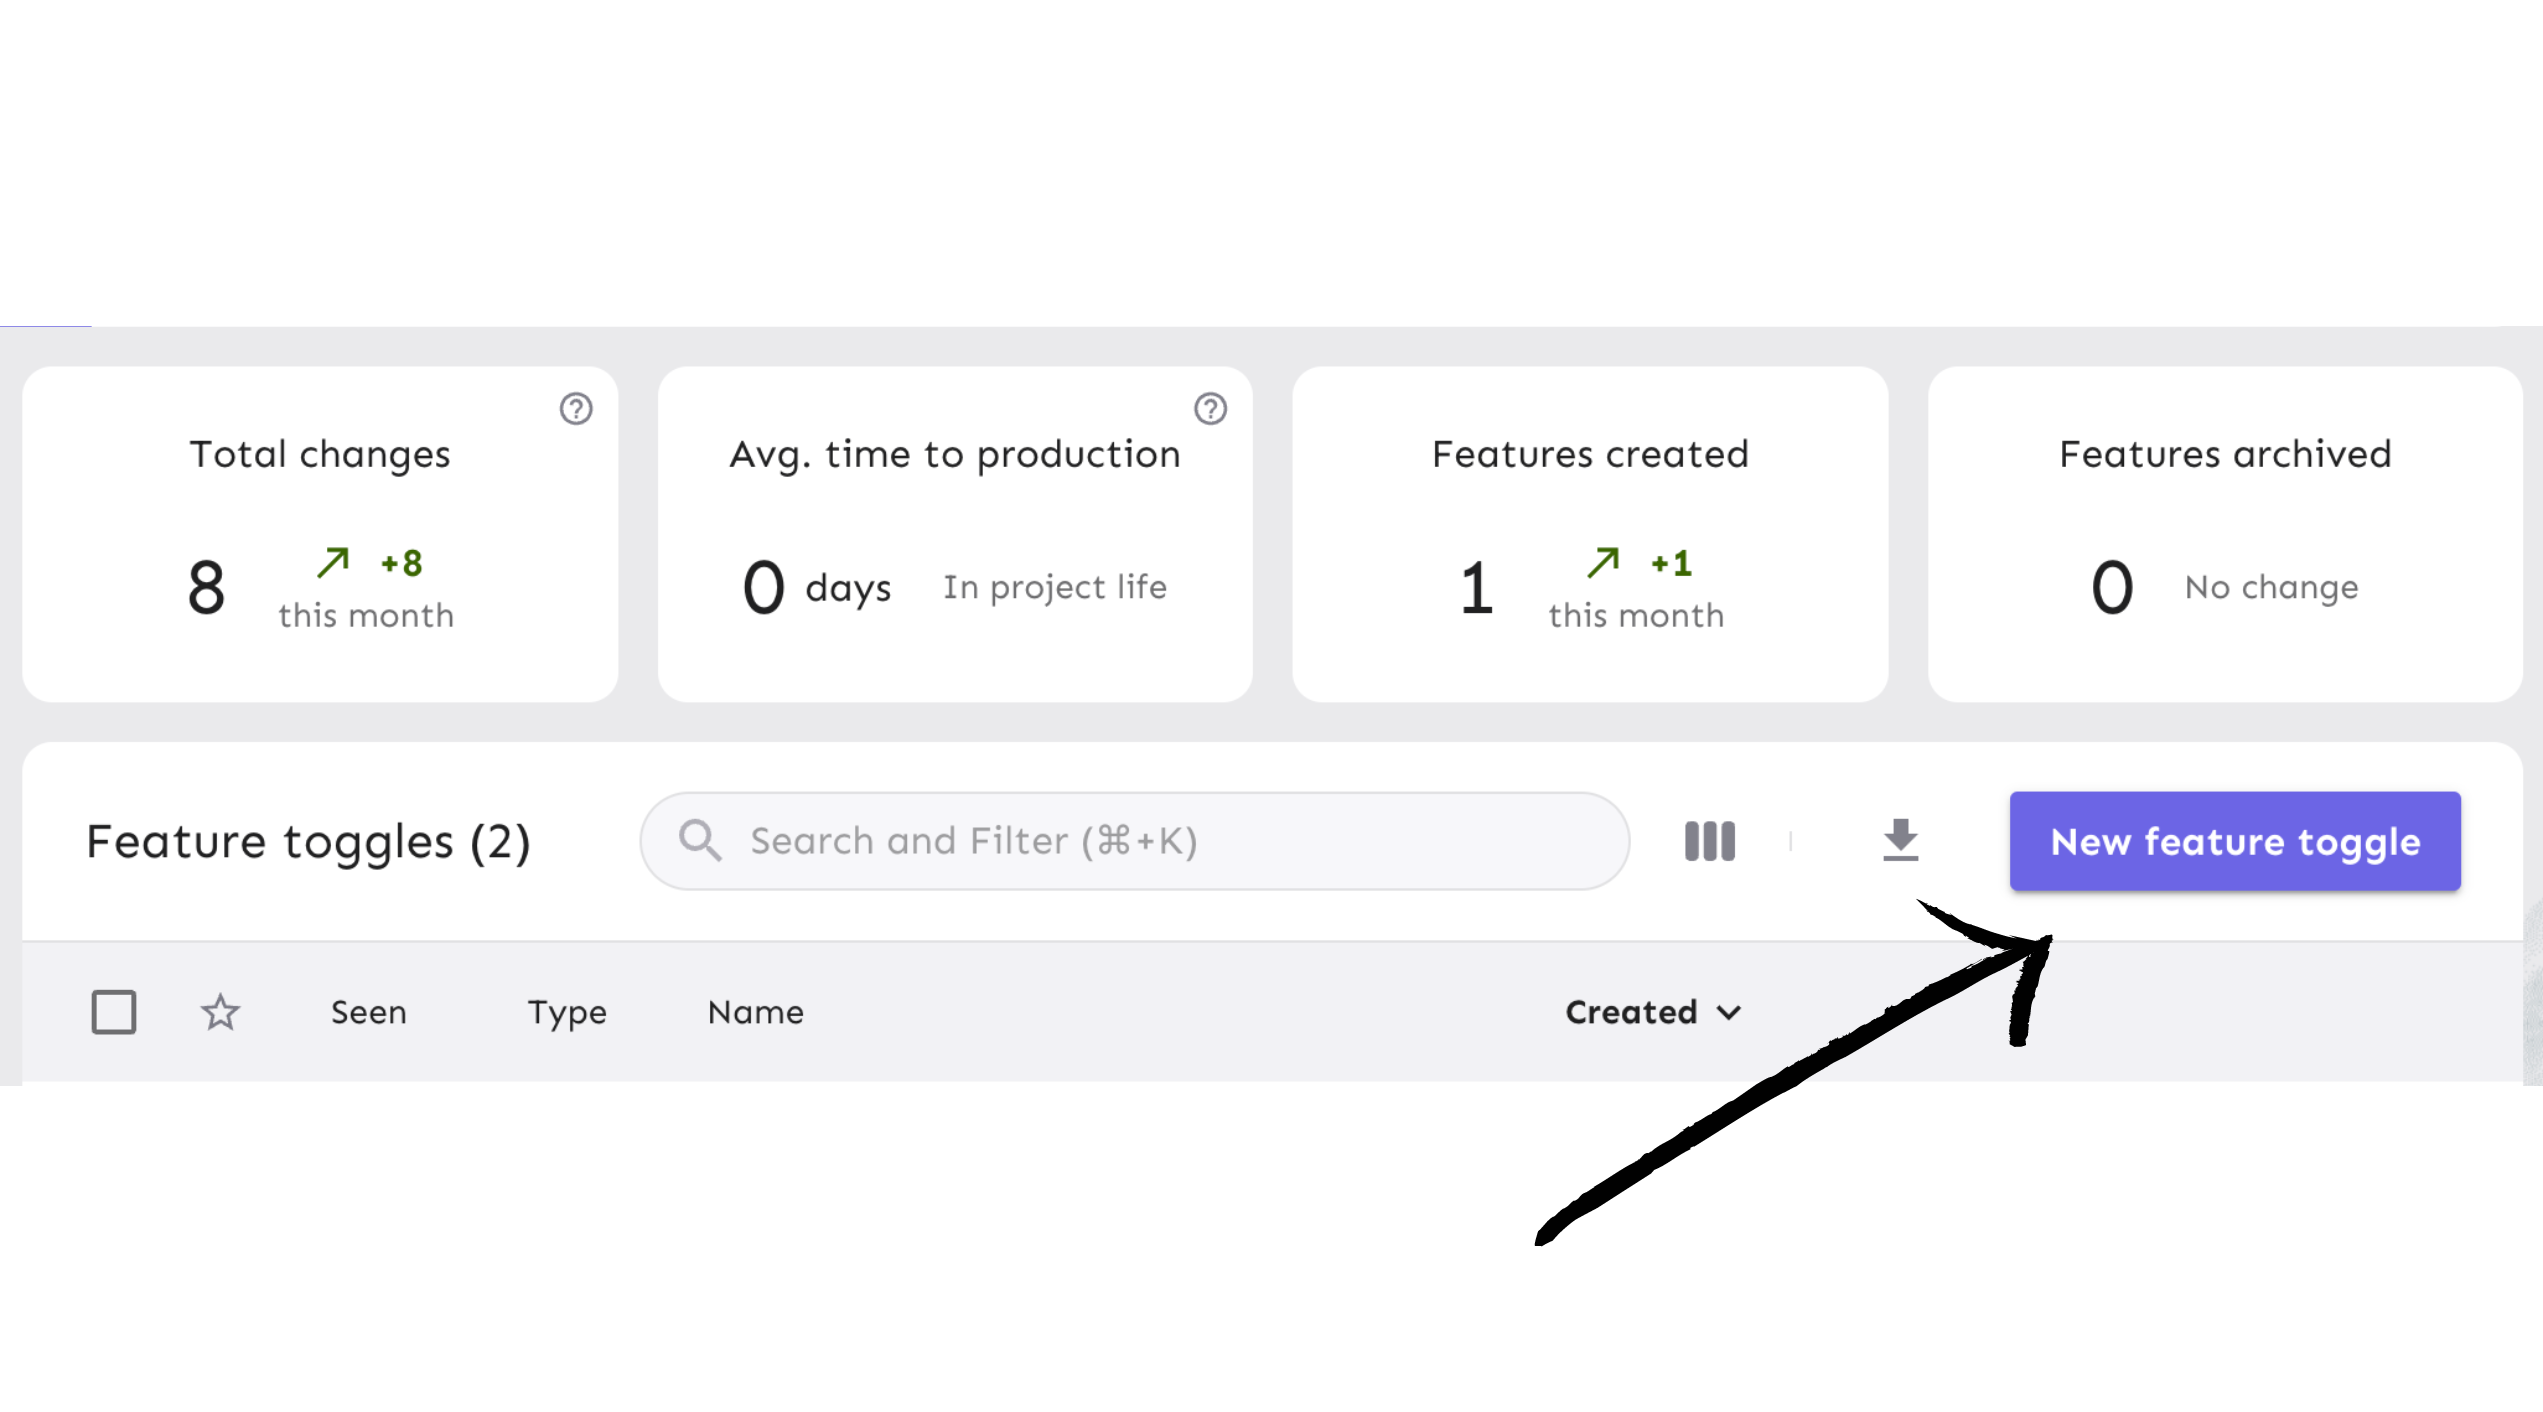
Call it avif and enable it in the development environment.

Next, generate an API token to authenticate calls made to Unleash servers from your project.
Unleash requires SDKs to be set up with an API token. This is to ensure that only applications with the correct authentication can access your feature flags in Unleash. API tokens are created by users with API management access.
From your project view on the platform, go to "Project Settings" and then "API Access". Or click "API Access" on the sidebar.
Select the ‘New API token’ button or copy an existing token.
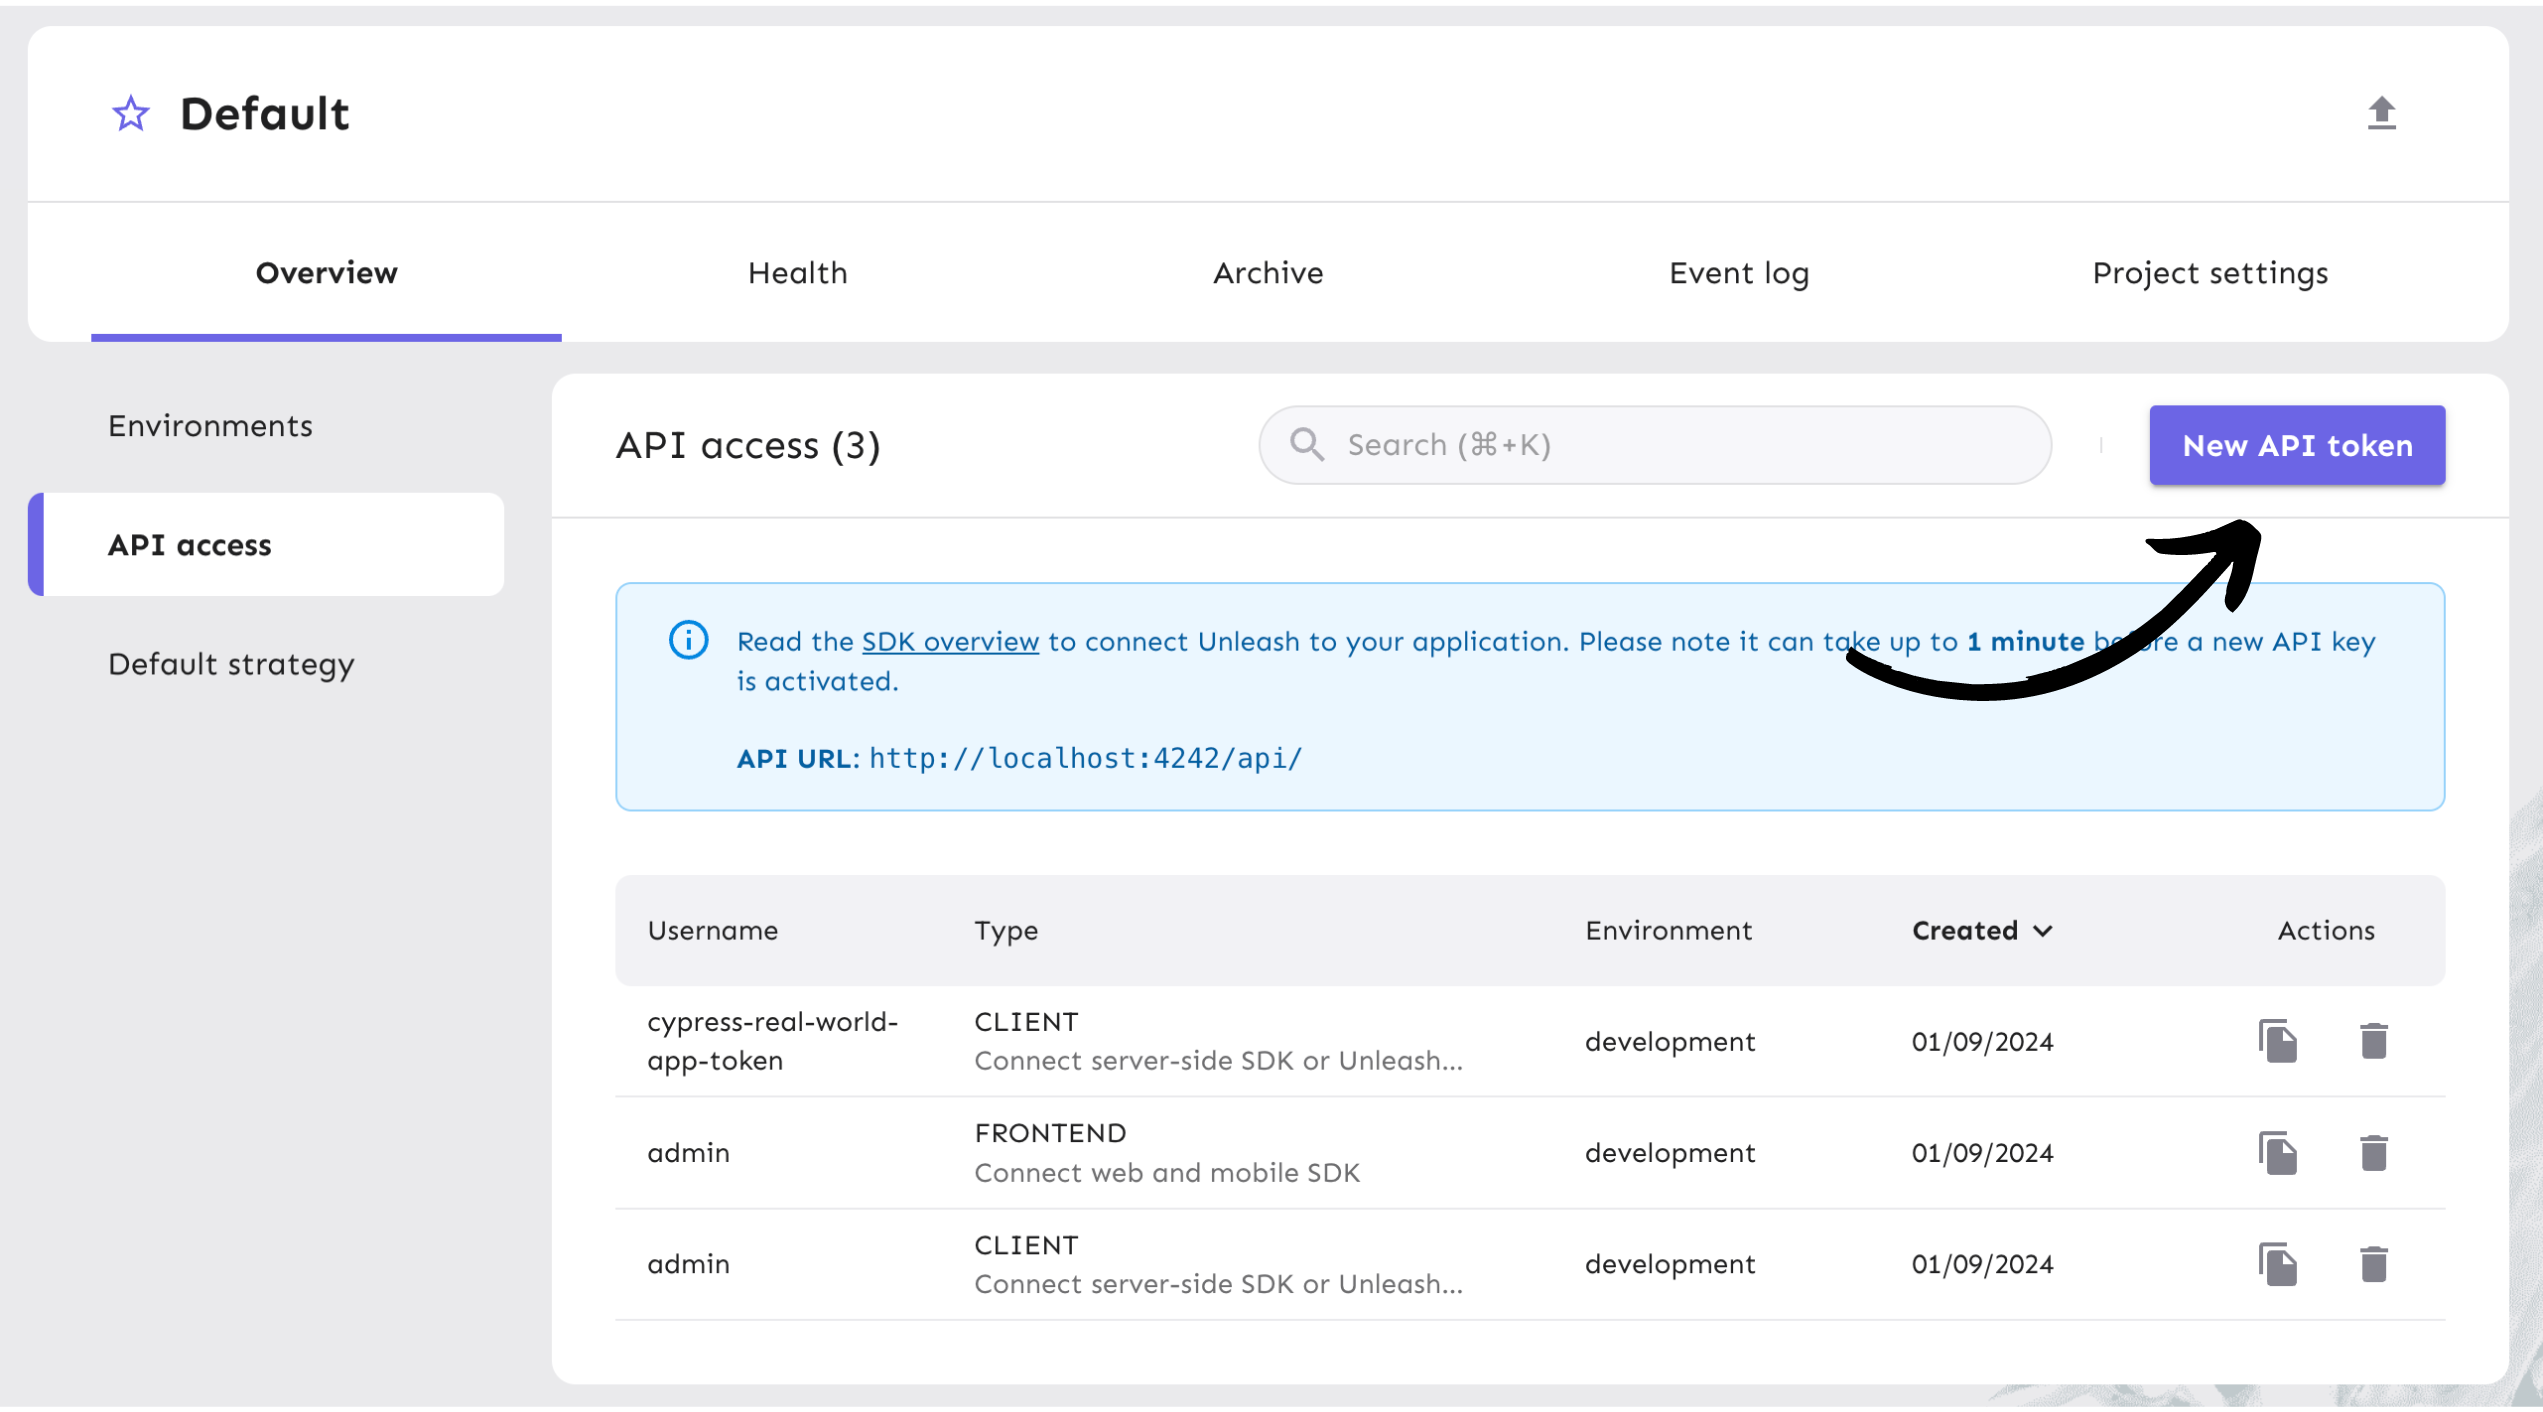
Name the API token and select the “Server-side SDK (Client)” token type. You can read more about Unleash API tokens in our documentation.
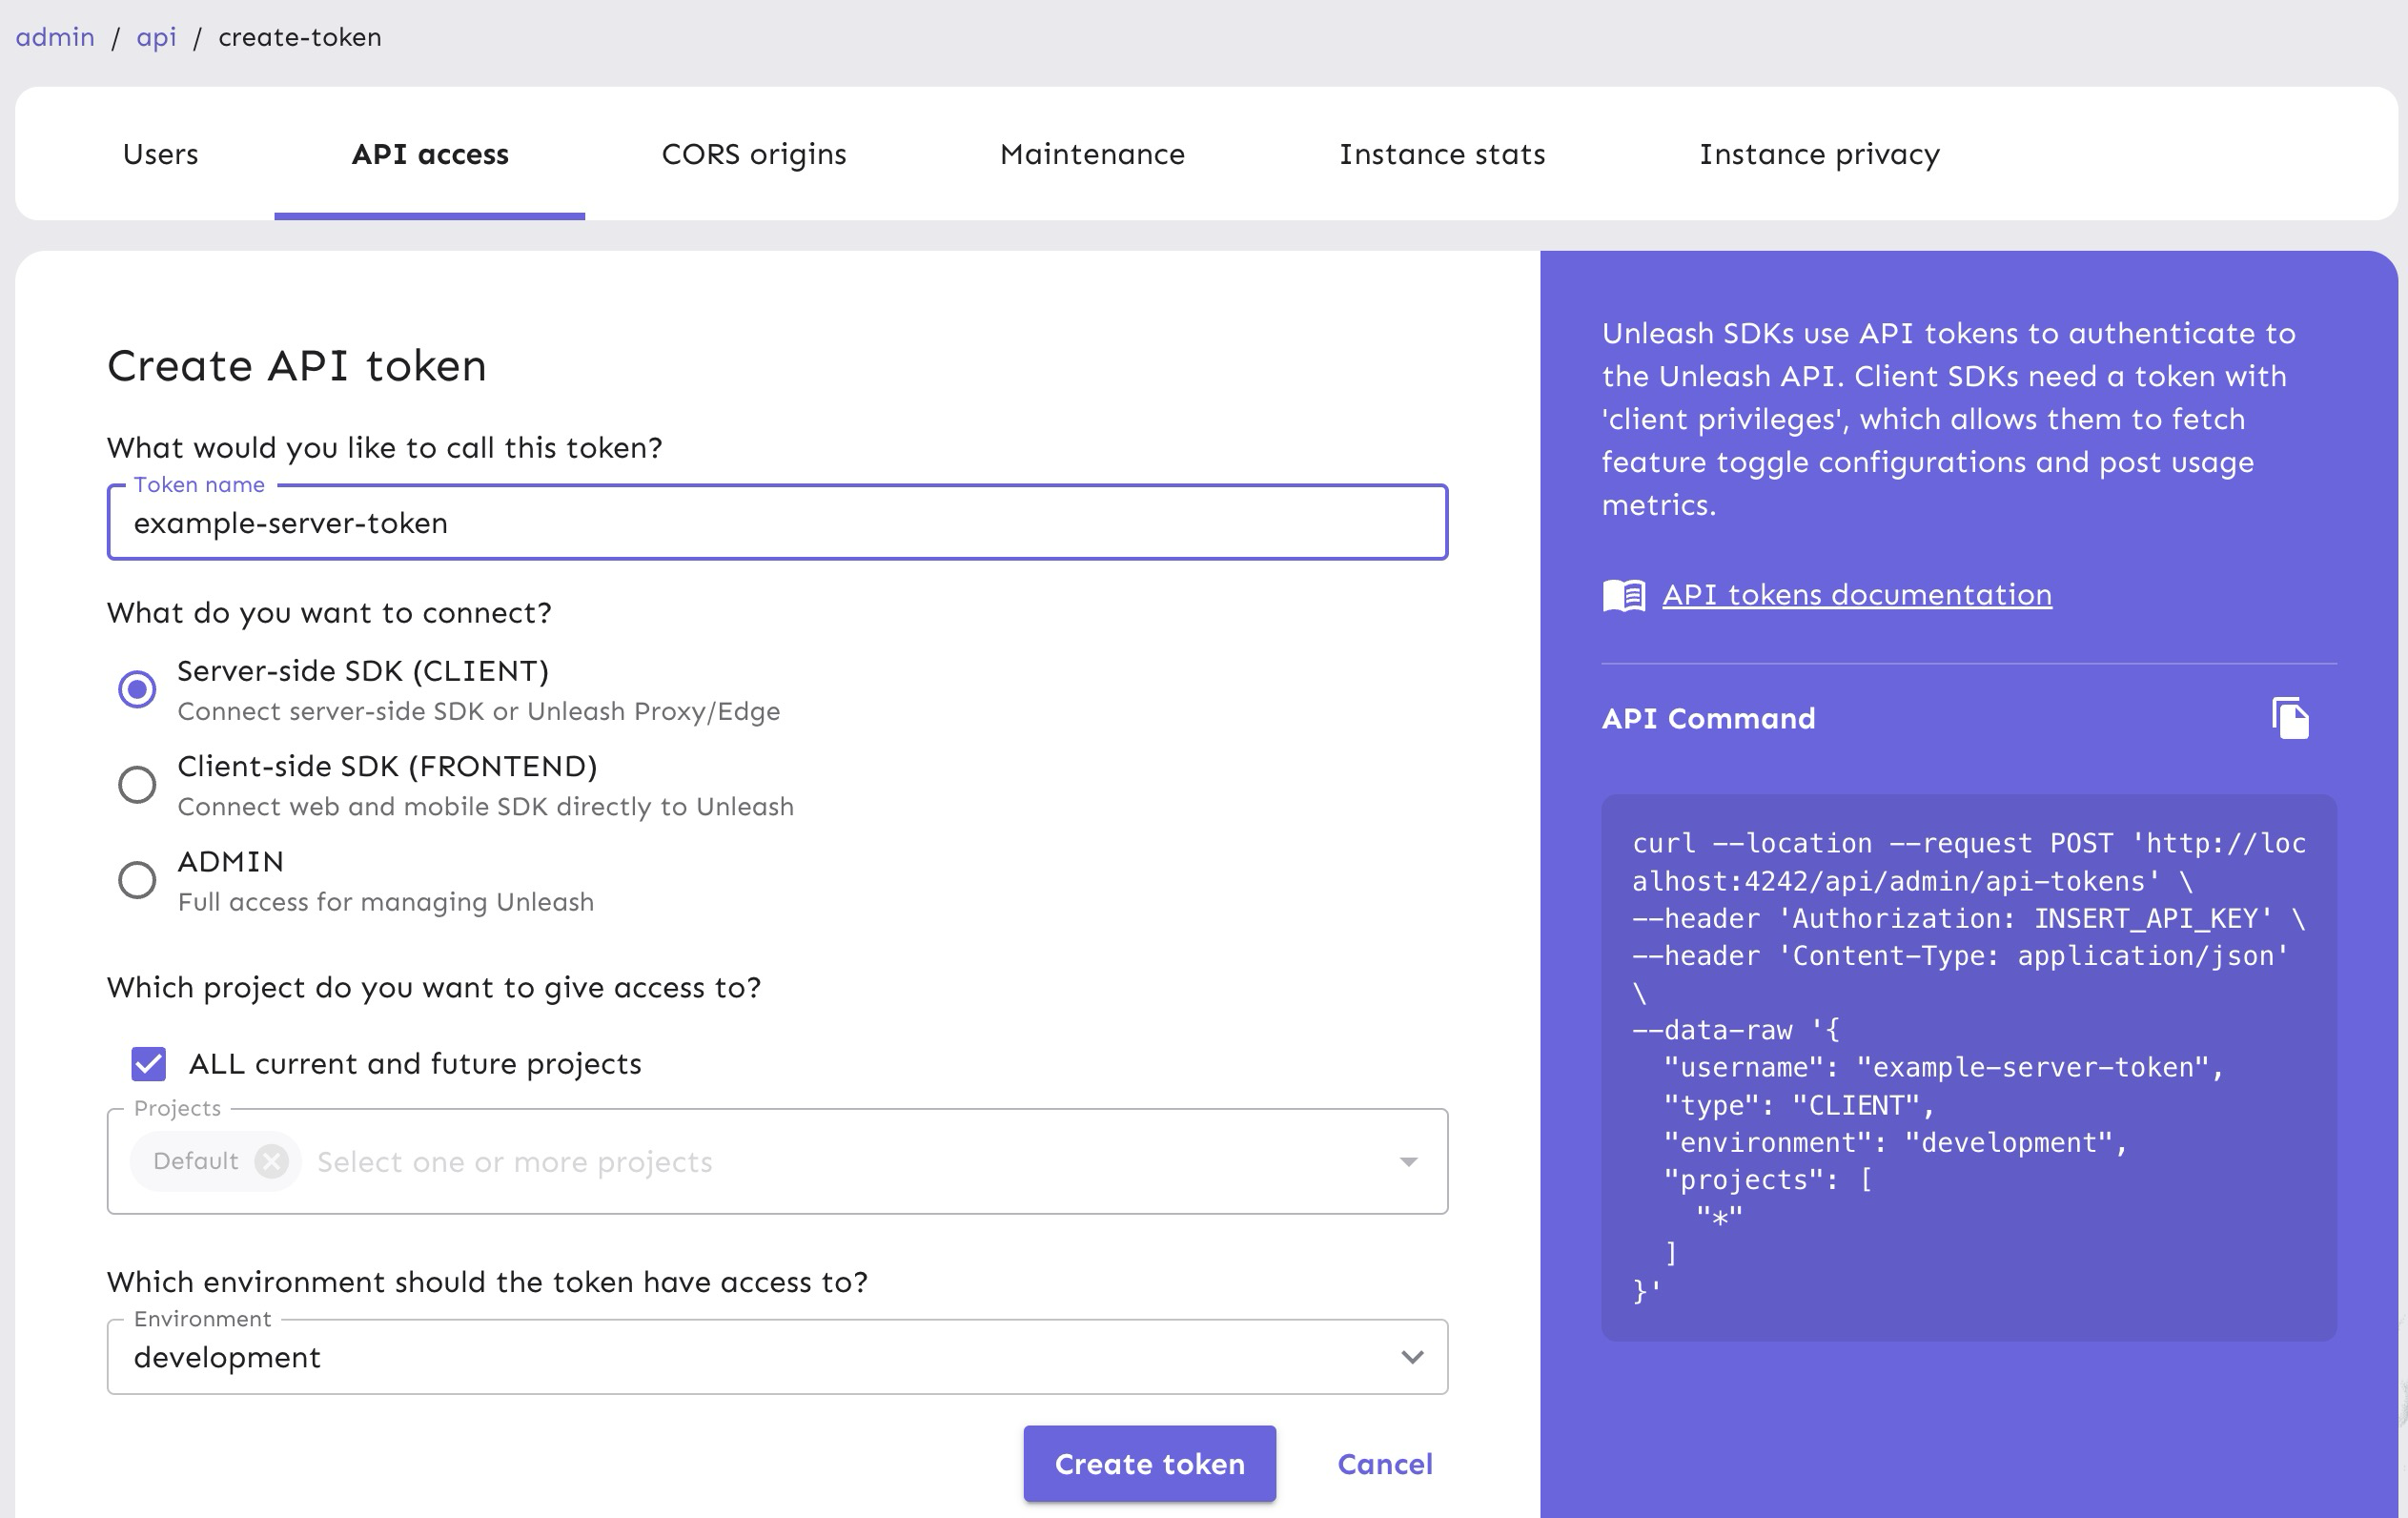
After that, the token should have access to the “development” environment, as shown in the platform screenshot below.
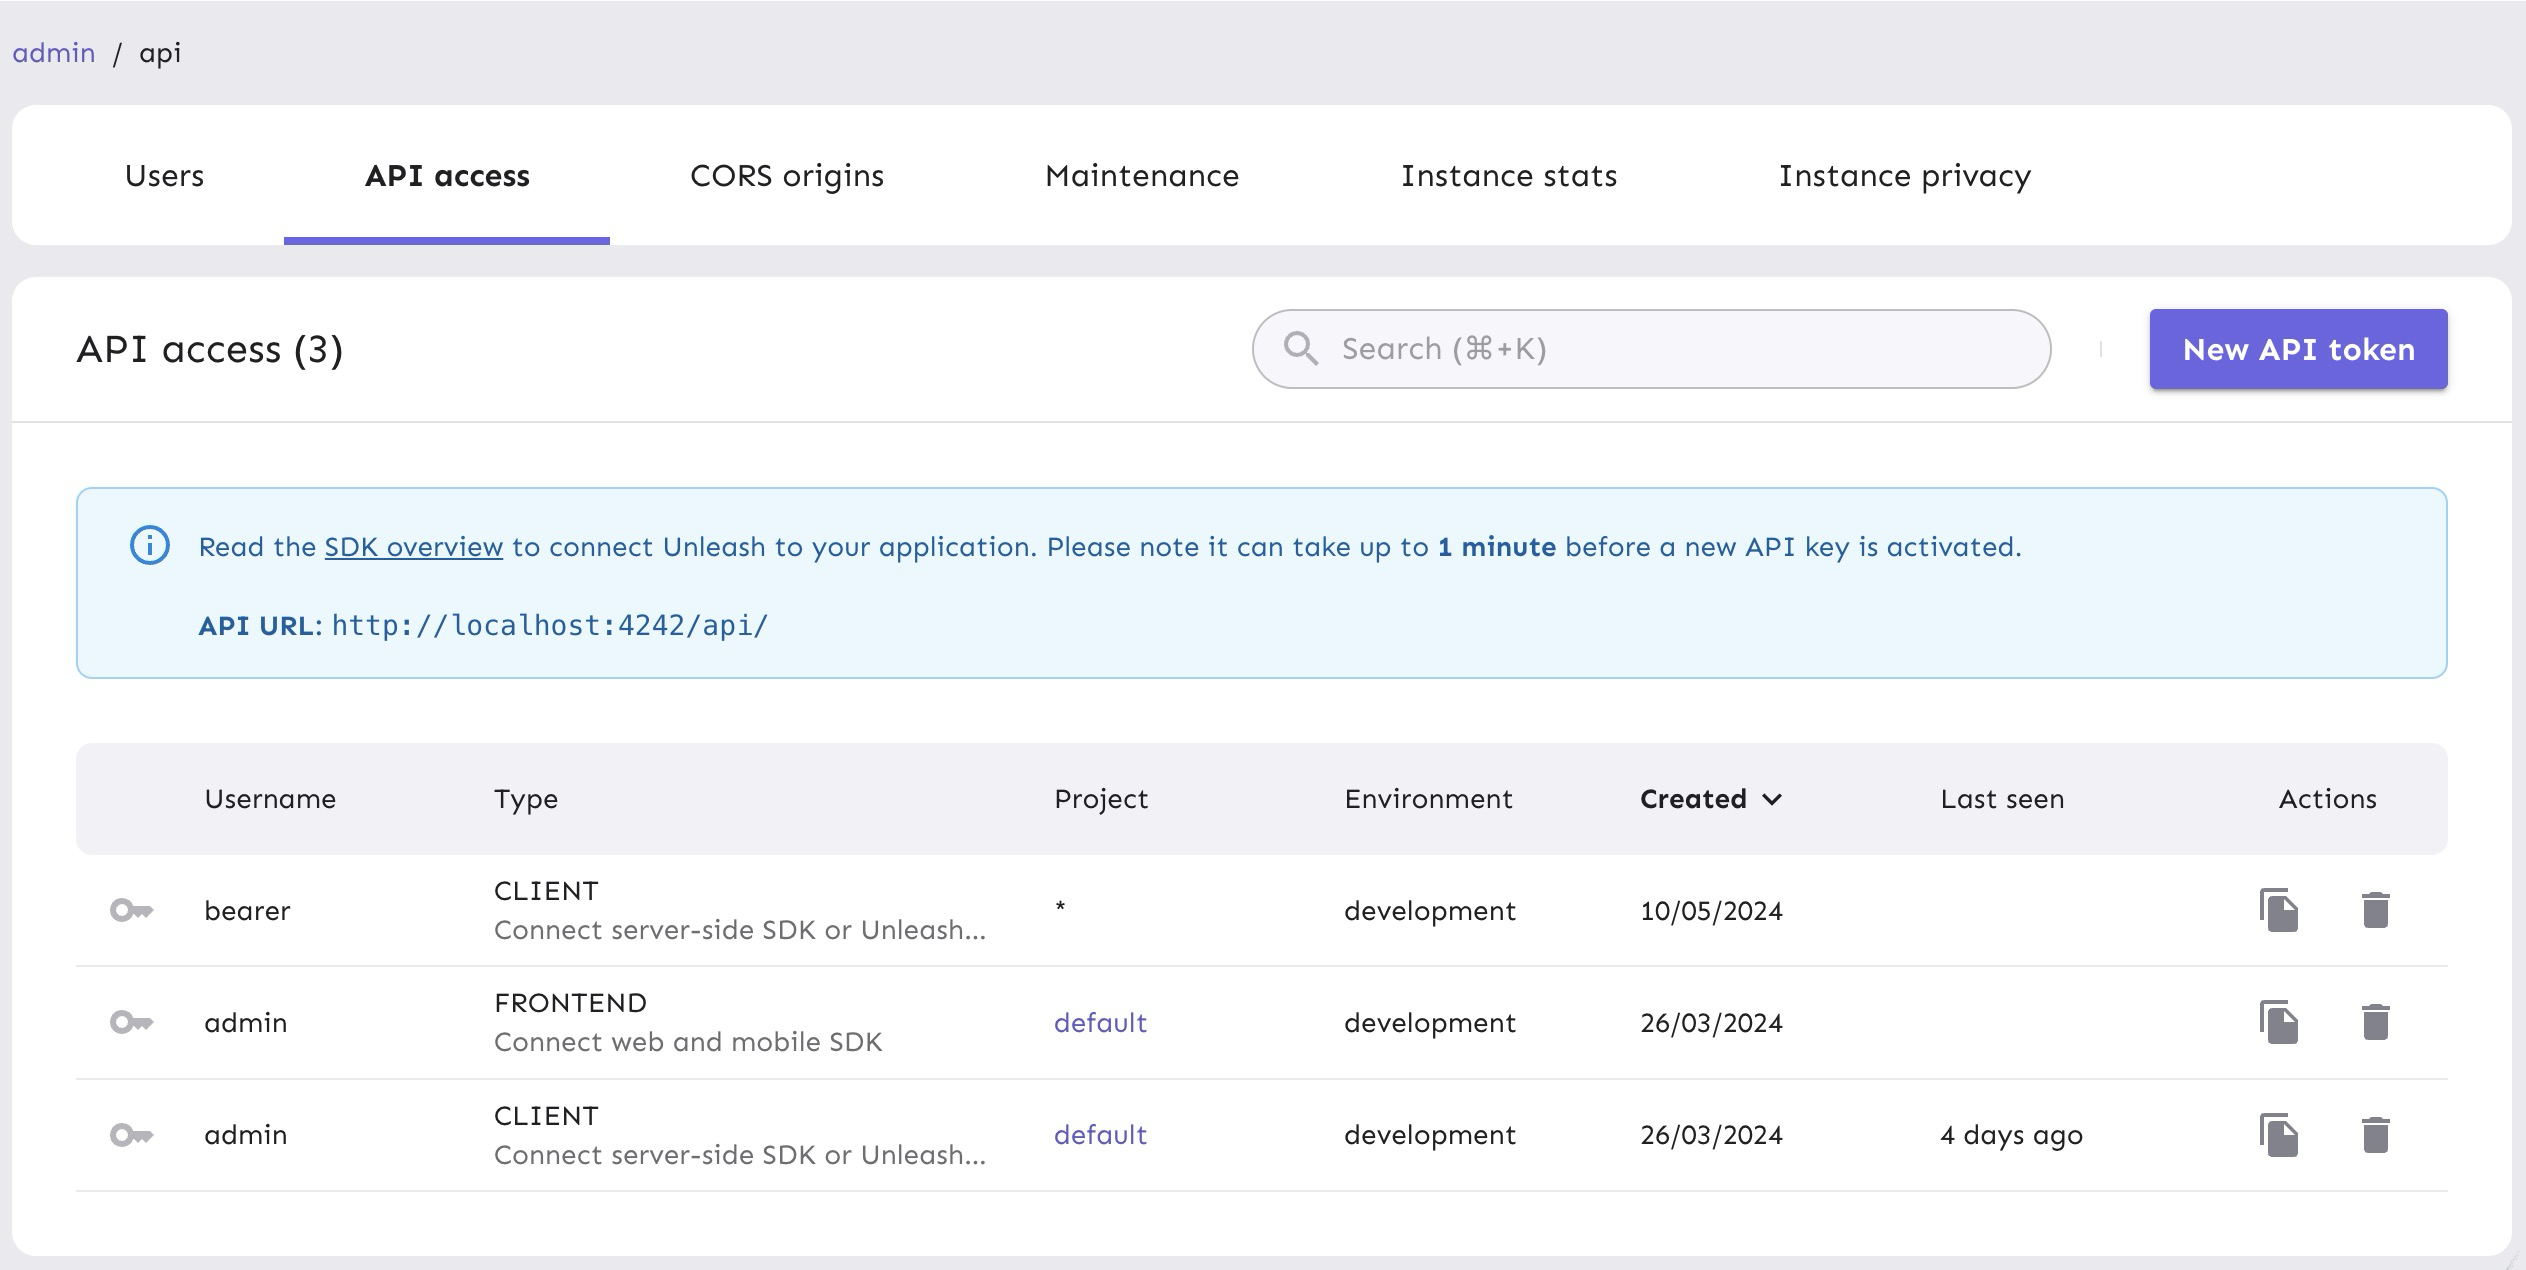
The API token you generated can be managed in the API Access view in your project settings. It will come in handy later.
Everything’s now setup on the Unleash side. Let’s go to the code.
2. Convert an image to WebP
Open a new tab in your terminal, and create a new Rust project (NOT in the unleash folder).
cargo new rust-ff-tutorial
This will create a new project with a Cargo.toml file and a src folder.
Add the following dependencies:
cargo add image ravif rgb webp
We use the image, webp and ravif crates to convert images to WebP and Avif, respectively. The unleash_api_client crate is used to communicate with the Unleash server. The tokio crate is used to make this connection asynchronous.
Final step before we start coding: Download this image or add an image of your own and call it "input.png." Make sure it's in the same folder.

Let's write some Rust code to convert the image to WebP. We're relying on the webp crate which gives us a straightforward WebPEncoder::from_image(&img) method. We'll then use the feature flag that we just created to toggle the conversion to Avif rather than WebP.
use image::io::Reader as ImageReader;
use ravif::{Encoder as AvifEncoder, Img};
use rgb::FromSlice;
use std::error::Error;
use std::fs;
use webp::Encoder as WebPEncoder;

fn main() -> Result<(), Box<dyn Error>> {
    let img = ImageReader::open("input.png")?.decode()?;

    // Convert to WebP
    let webp_data = WebPEncoder::from_image(&img)?.encode(75.0);
    fs::write("output.webp", webp_data.to_vec())?;

    Ok(())
}
Run the code
cargo run
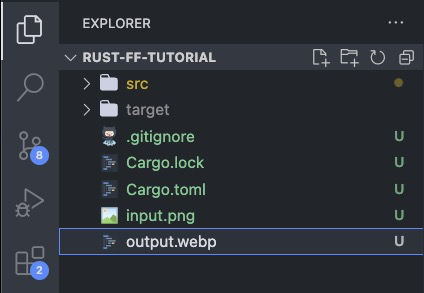
You should see another image named output.webp in your folder. Make sure that the image is the same and that the compression worked correctly.
3. Add Avif support
Now let's add support for Avif. We'll use a crate named ravif for this, which is a pure Rust converter. Later down the line, we'll rely on a feature flag to toggle between the WebP and the Avif conversion.
use image::io::Reader as ImageReader;
use ravif::{Encoder as AvifEncoder, Img};
use rgb::FromSlice;
use std::error::Error;
use std::fs;
use webp::Encoder as WebPEncoder;

fn main() -> Result<(), Box<dyn Error>> {
    let img = ImageReader::open("input.png")?.decode()?;

    // Convert to WebP
    let webp_data = WebPEncoder::from_image(&img)?.encode(75.0);
    fs::write("output.webp", webp_data.to_vec())?;

    // Convert to AVIF
    let rgba_image = img.to_rgba8();
    let pixels_rgba = rgba_image.as_raw().as_rgba();
    let avif_data = AvifEncoder::new().with_quality(75.0).encode_rgba(Img::new(
        pixels_rgba,
        rgba_image.width() as usize,
        rgba_image.height() as usize,
    ))?;
    fs::write("output.avif", avif_data.avif_file)?;

    Ok(())
}
Not as easy as the webp crate, I had to use the rgb crate to turn our image into a format that ravif would accept, but it works. Be mindful of the usize when passing the width and height.
Run the code again:
cargo run
You should see another image named output.avif in your folder, alongside the .webp image. Make sure that all images are the same before continuing.
4. Add Unleash to your Rust app
Now, let’s connect our project to Unleash so that you can toggle that feature flag at runtime. If you wanted to, you could also do a gradual rollout, run A/B tests, etc.
You’ll need 3 things:
- The Unleash SDK installed.
- The URL of your Unleash instance’s API. It’s
http://localhost:4242/api/for your local version. You’ll want to replace it with your remote instance. - The API token we created on our Unleash instance, feel free to create another one if you can’t find it.
Let's first install all the SDK and all its dependencies.
cargo add enum-map@2.0.3
cargo add reqwest --features json
cargo add serde --features derive
cargo add tokio --features full
cargo add unleash-api-client --features reqwest
There are a few dependencies, and here's why: We need an HTTP client to make the request, and serde to deserialize the Unleash response. Our SDK is constantly polling Unleash to retrieve the value of feature flags, and caches that in memory.
We want to let you choose the nature of that concurrency, so we're compatible with async-std, tokio and standard threads. We're picking tokio here.
use enum_map::Enum;
use image::io::Reader as ImageReader;
use ravif::{Encoder as AvifEncoder, Img};
use rgb::FromSlice;
use std::error::Error;
use std::fs;
use serde::{Deserialize, Serialize};
use std::time::Duration;
use tokio::time::sleep;
use unleash_api_client::client::ClientBuilder;
use webp::Encoder as WebPEncoder;

#[derive(Debug, Deserialize, Serialize, Enum, Clone)]
enum Flags {
    avif,
}

#[tokio::main]
async fn main() -> Result<(), Box<dyn Error + Send + Sync + 'static>> {
    let client = ClientBuilder::default().into_client::<Flags, reqwest::Client>(
        "http://localhost:4242/api",
        "unleash-rust-client-example",
        "unleash-rust-client-example",
        Some("default:development.unleash-insecure-api-token".to_string()),
    )?;
    client.register().await?;

    let (_, _) = tokio::join!(client.poll_for_updates(), async {
        // Ensure we have features for this demo.
        sleep(Duration::from_millis(500)).await;

        let avif = client.is_enabled(Flags::avif, None, false);
        process_images(avif)?;

        // allow tokio::join to finish
        client.stop_poll().await;
        Ok::<(), Box<dyn Error + Send + Sync + 'static>>(())
    });

    Ok(())
}

fn process_images(
    convert_to_avif: bool,
) -> Result<(), Box<dyn Error + Send + Sync + 'static>> {
    let img = ImageReader::open("input.png")?.decode()?;

    if convert_to_avif {
        // Convert to AVIF
        let rgba_image = img.to_rgba8();
        let pixels_rgba = rgba_image.as_raw().as_rgba();
        let avif_data = AvifEncoder::new().with_quality(75.0).encode_rgba(Img::new(
            pixels_rgba,
            rgba_image.width() as usize,
            rgba_image.height() as usize,
        ))?;
        fs::write("output.avif", avif_data.avif_file)?;
        println!("Image conversion to AVIF completed successfully.");
    } else {
        // Convert to WebP
        let webp_data = WebPEncoder::from_image(&img)?.encode(75.0);
        fs::write("output.webp", webp_data.to_vec())?;
        println!("Image conversion to WebP completed successfully.");
    }

    Ok(())
}
5. Verify the toggle experience
Now that we’ve connected our project to Unleash and grabbed our feature flag, we can verify that if you disable that flag in your development environment, you should only see the WebP conversion.
Your feature flag configuration will only update as often as your SDK polls Unleash. The default polling interval for the Rust SDK is 15 seconds, but you can set whatever interval works best for your use case.
Conclusion
All done! Now you know how to add feature flags with Unleash in Rust. You’ve learned how to:
- Convert images to WebP and Avif using Rust
- Install Unleash and create/enable a feature flag
- Initialise the Unleash client and provide it with an async runtime
- Grab the value of a feature flag with the Rust SDK
Thank you!